The Secret of How To Make Buttercream Flowers
Learn to pipe stunning buttercream flowers and transform your cakes into edible art. This guide demystifies cake decorating, showing beginners how to create beautiful floral designs like roses and peonies with simple tools. Embrace the process and find joy in creating your own sweet, floral masterpieces.
8/27/20256 min read
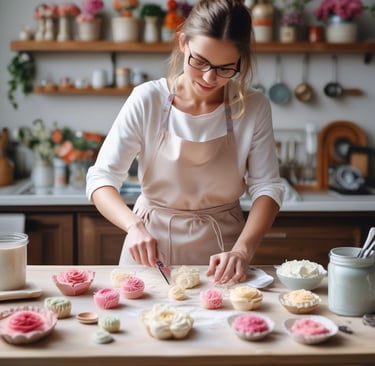
There's something magical about a cake adorned with flowers. It's an instant showstopper, a work of edible art that whispers of special occasions and heartfelt gestures. But what if you could create that magic yourself, with nothing more than a few simple tools and some sweet, creamy frosting? Honestly, it's easier than you might think. Whether you’re dreaming of a delicate rose-covered birthday cake or a simple peony-topped cupcake, the world of buttercream flowers is a garden just waiting for you to tend to it.
I get it, the thought of piping a perfect petal can feel a little intimidating. You might be picturing yourself hunched over a cake, hands shaking, only to end up with a lumpy, unidentifiable blob. We’ve all been there! But what if I told you the true art isn't about perfection, but about embracing the process? It’s about learning to feel the texture of your frosting, understanding how the pressure in your hand translates into a delicate curve, and finding the joy in those little imperfections that make each flower uniquely yours.
Choosing Your Buttercream: The Foundation of Your Floral Masterpiece
Before we even touch a piping bag, let's talk about the unsung hero of this whole operation: the buttercream itself. You know what? This is probably the single most important decision you'll make. The right buttercream is the difference between a frustrating mess and a smooth, enjoyable experience.
You have a few solid choices here. American buttercream, with its classic butter and powdered sugar base, is a popular pick. It's sturdy, holds its shape beautifully, and is great for piping because it "crusts" over, making the finished flowers less delicate. But here's the thing about American buttercream: it can be very sweet. If you’re looking for something less cloying, consider a Swiss meringue or Italian meringue buttercream. These are a bit more involved to make, but the result is a silky-smooth frosting that tastes less sweet and has a beautiful sheen. While it’s not as "stiff" as its American counterpart, with the right consistency, it can make absolutely stunning, realistic-looking blooms. The key is to get the texture just right—not too soft, not too stiff. As a pro tip, if your Swiss meringue buttercream is looking a little soupy after you add the butter, don't panic! Just keep mixing, or pop the whole bowl in the fridge for a few minutes to let it firm up before giving it another whirl with the mixer.

The Right Tools for the Job
Every gardener needs their tools, and you're about to become a floral artisan. You don't need a sprawling collection of every piping tip ever made. You can start with a few essentials. A flower nail is an absolute game-changer; it's like having a mini-turntable in your hand. And speaking of tips, a few key piping tips will open up a world of possibilities. A petal tip is a must-have for creating roses, ranunculus, and other flowers with distinct petals. A small round tip can create centers or small fillers, and a leaf tip is, naturally, perfect for adding those beautiful finishing touches.
You’ll also want a sturdy piping bag, some parchment paper squares, and food coloring. When it comes to coloring, lean towards gel food coloring or paste over liquid drops. The gel colors are highly concentrated, so you only need a tiny bit to get a vibrant shade, which means you won't throw off the consistency of your buttercream by adding too much liquid.
Piping Your First Petals: The Rose
Let’s get to the fun part: making a buttercream rose. This is often the first flower people learn, and for good reason—it’s a foundation for so many other designs.
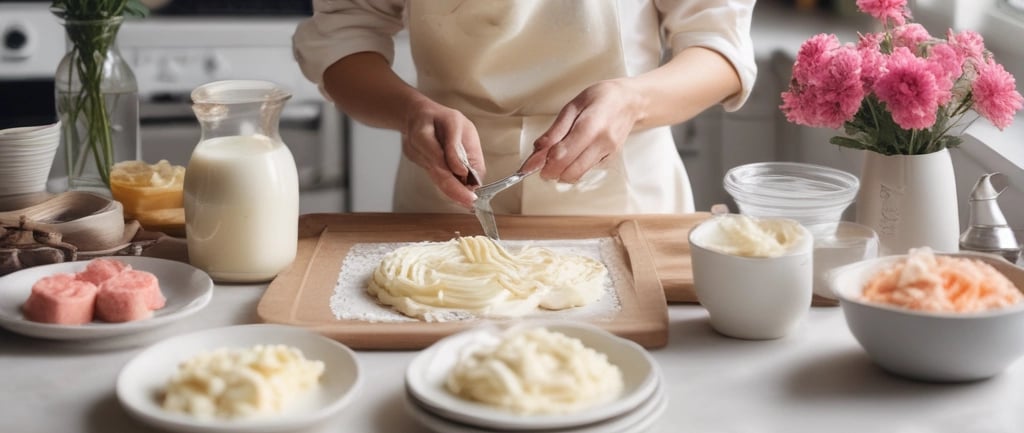
Set up: Place a dab of buttercream on your flower nail and stick a small square of parchment paper to it. This acts as your canvas.
Make the cone: Using a round tip, pipe a small, upright cone of buttercream in the center of the parchment. This little cone is the secret to a high, realistic-looking rose.
The first petal: With your petal tip, hold the wide end down at the base of the cone and the narrow end pointing up. Pipe one small arc around the top of the cone. This is the very center of your rose.
The next layer: Now, pipe three slightly larger arcs around the first petal, overlapping each one slightly.
Build it out: Continue adding layers of petals, making each arc a little bit bigger than the last. As you go, you can adjust the angle of your piping tip to make the flower more open or "fully bloomed."
The rhythm is everything here: squeeze the bag, rotate the nail, release the pressure. It takes a little practice to find your flow, but trust me, after a few tries you'll feel it. Don’t be afraid to experiment! That’s where the fun is.
FAQ: Your Buttercream Questions, Answered!
How do I get my buttercream flowers to look so realistic?
The key is in the details! Use a variety of colors, even within the same flower. Try painting a few stripes of different colored gel food coloring inside your piping bag before filling it with buttercream—this creates a gorgeous, variegated look that mimics natural petals. Also, pay attention to how your buttercream feels. If it gets too warm and soft, the flowers won’t hold their shape. Pop the whole piping bag in the fridge for 5-10 minutes to firm it up.
What's the best way to transfer my finished flowers to the cake?
This is the trickiest part, honestly. Once you've piped your flowers on the parchment squares, place them on a tray and chill them in the freezer for about 15-20 minutes. This makes the buttercream firm and easy to handle. Use an offset spatula to carefully slide the flower off the parchment and onto your cake. You can also use a little dab of fresh buttercream on the cake to act as "glue" and secure the chilled flower in place.
Can I make these ahead of time?
You absolutely can! Buttercream flowers freeze beautifully. Pipe them onto parchment squares and place them in an airtight container once they're frozen solid. They can be stored in the freezer for several weeks. Just let them thaw in the fridge for a few hours before you're ready to use them.