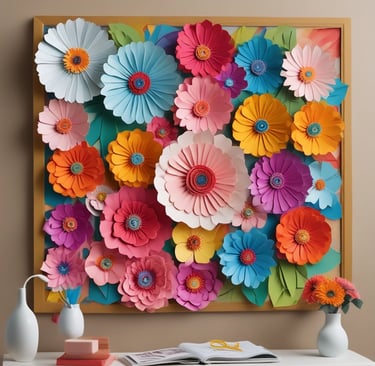
DIY Paper Flowers that can Transform Your Bulletin Board
Turn a dull bulletin board into a vibrant display with this guide to creating your own beautiful DIY paper flowers. Learn simple steps to craft permanent blooms perfect for decorating a classroom, office, or home entryway.
8/27/20255 min read

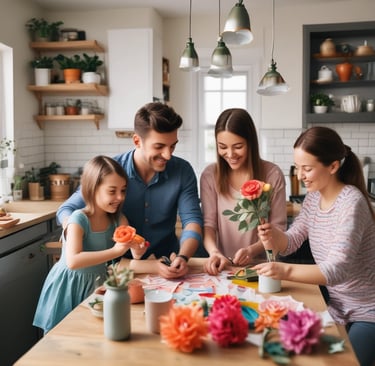
Have you ever walked past a bulletin board and just felt... underwhelmed? You know the kind I mean—the ones with a single, lonely pushpin and a forgotten flyer from last semester. Honestly, in a world full of vibrant colors and boundless creativity, a dull notice board is a missed opportunity. But what if I told you that you could completely change the vibe of any space, whether it’s a classroom, an office, or even a home entryway, with nothing but a few sheets of paper and a little bit of magic?
Here’s the thing about flowers: they have this incredible power to breathe life into a room, to spark a bit of joy. And while sending a bouquet is lovely, there’s something truly special about creating your own permanent blooms. You're not just making a decoration; you're building a feeling. So, let’s grab our scissors, plug in that trusty glue gun, and get into the nitty-gritty of how to make flowers for your bulletin board that will make everyone who passes by stop and smile.
Why Your Bulletin Board Needs a Floral Makeover
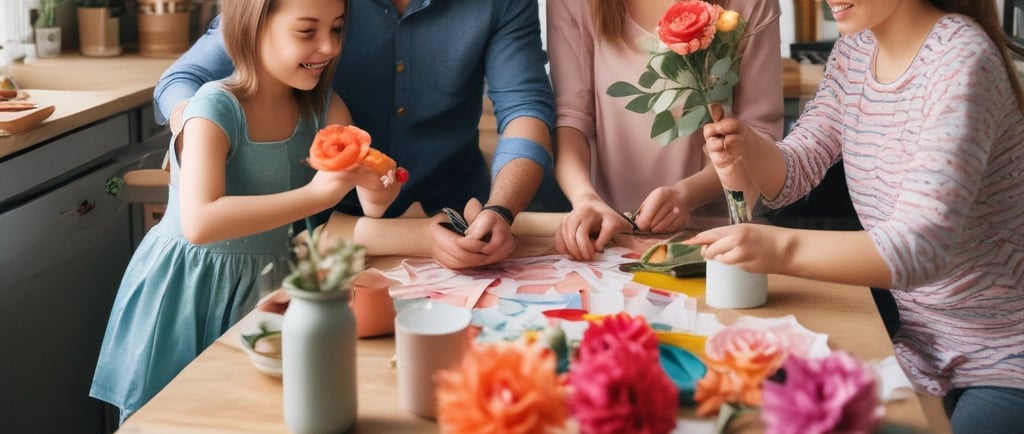
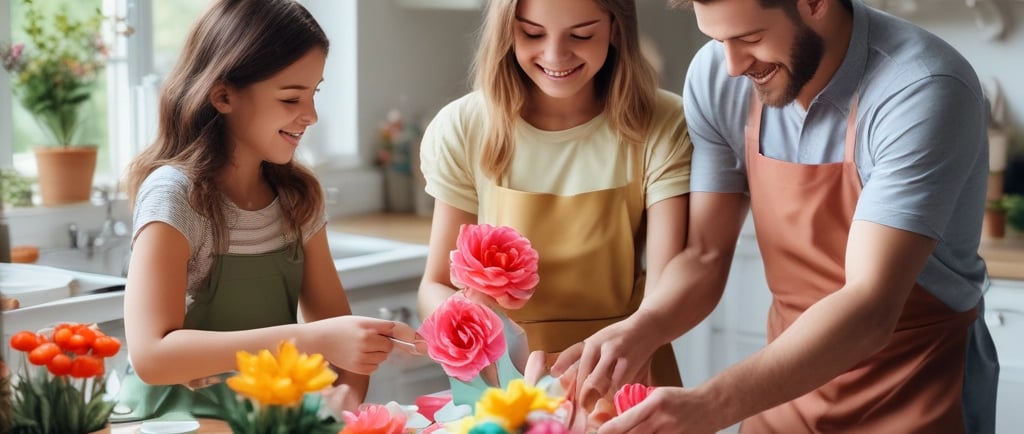
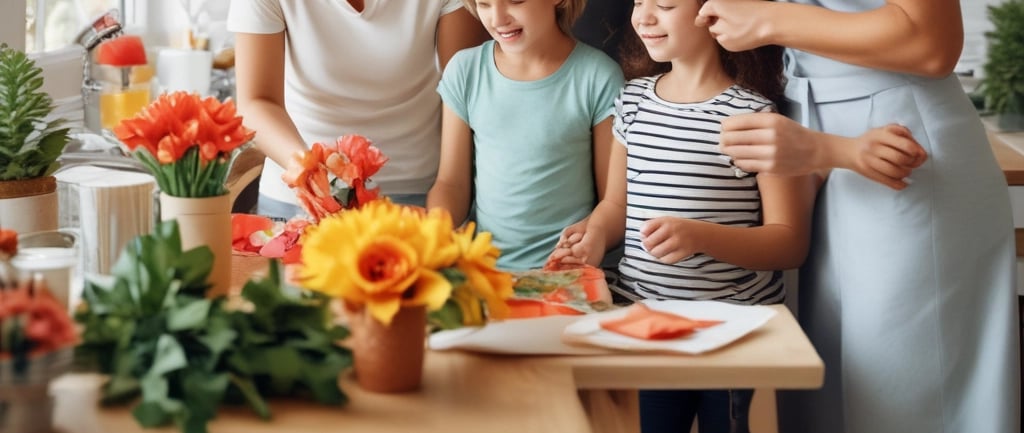
Think about it: a bulletin board is a canvas. It’s a place for announcements, yes, but it’s also a place for inspiration. It’s a space where you can let a little bit of your personality shine through. By making these handmade paper flowers, you’re not just tacking up a craft; you're cultivating an atmosphere of warmth and creativity. This is a project that feels as good to make as it does to display. It's a wonderful student activity or a collaborative project for a group of teachers looking to spruce up their classroom decor. It’s a budget-friendly way to make a big impact, and a great conversation starter. Honestly, who wouldn't want to talk about the beautiful homemade flowers on their wall?
The Arsenal of a Modern-Day Flower Alchemist
Before we get to the fun part, let's talk supplies. You really don't need much to get started on this paper flower tutorial, and that’s a big part of the appeal. But I will say, the quality of your materials can make all the difference. While any old craft paper will do, using a good, sturdy cardstock gives your blooms a bit more heft and a more professional finish. You’ll also need:
A trusty hot glue gun. Seriously, a good one is a game-changer.
Scissors. A sharp pair makes the cutting a breeze.
Templates for your petals—these are the real secret sauce!
A pencil or something similar for curling the petal edges.
And of course, lots of beautiful colored paper.
Now, a mild contradiction here: some tutorials say you can get by with just a pair of scissors. And you can! But if you have access to a cutting machine like a Cricut or Silhouette, you'll be amazed at how quickly you can prep your petals. It's a professional little shortcut that gets you to the fun part of the assembly even faster. But don't let that stop you if you don't have one—the hand-cut blossoms have their own unique, charming feel.

Let's Build Our Blooms: A Simple Step-by-Step Guide
The process of creating these DIY flowers is simpler than you might think. We're going to take flat, humble pieces of paper and, with a bit of folding and gluing, transform them into three-dimensional wonders.
Prep Your Petals: First things first, you'll need to cut out your petals using your templates. Whether you’re painstakingly snipping away with scissors or letting a machine do the work, you'll want to have different sizes ready: a good number of large petals, a handful of medium, and a few small ones for the inner layers.
Give 'em a Curl: This is a crucial step! Take each petal and gently wrap the top edge around a pencil. This simple little movement is what brings your flowers to life, giving them that soft, natural curve. Without this, they'd just look a bit... flat.
Build Your Layers: Starting with your largest petals, glue them onto a circular paper base, overlapping as you go. Think of it like a beautiful, blossoming puzzle. Once you’ve got your outer layer, move to the medium petals, then the small ones, layering them on top. It’s a satisfying process, watching the flower take its shape.
The Grand Finale: The final touch is the stamen or flower center. This is where you can get really creative. Roll a strip of fringed paper, or maybe a small, tightly-wound coil, and glue it right in the center.
It's truly a gratifying crafting experience. The sensory feedback of the paper, the smell of the hot glue, and the joy of seeing your creation come together... it's just wonderful.

FAQs About Paper Flower Projects
Q: How do I actually attach these gorgeous flowers to the bulletin board?
A: Great question! You’ve got a couple of options here. You can use traditional thumb tacks and simply hide the pin under one of the back petals, which is a classic for a reason. Or, for a no-holes approach, consider using a velcro-like Command strip or a removable tacky putty. This makes it super easy to take them down and move them later without leaving a trace on your wall.
Q: Can I use different types of paper for these?
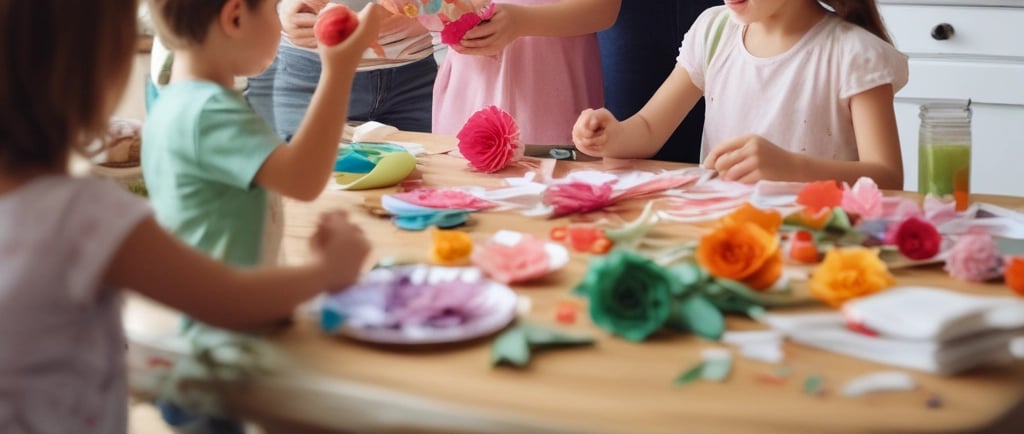
A: Absolutely! While cardstock is my go-to for durability and a clean look, you can experiment with all sorts of things. Construction paper is a great, inexpensive option, especially for a large-scale student activity. For a more delicate look, try using vellum or even patterned scrapbook paper. The possibilities are endless, and mixing and matching textures and patterns can create a truly unique decoration.
Q: Are these just for bulletin boards, or can I use them for other decor?
A: Oh, my friend, the bulletin board is just the beginning! These handmade flowers are incredibly versatile. They’re beautiful as a party backdrop, a sweet wall decor for a nursery, or even a stunning addition to a photo booth at a shower or wedding. They’re a wonderful way to add a touch of personality to any space.
A Little Crafting Goes a Long Way
You know what? It’s amazing what a little creativity and a handful of supplies can do. This isn't just about covering up a bland board; it’s about making a statement. It’s about showing the world—or at least your classroom or office—that you care about the little details and that you believe a space can be more than just functional. So go ahead, get started on your own DIY paper flower project. The process is a joy, and the result is a beautiful, tangible piece of your own making that brings a little bit of the outdoors in, no watering required. It’s a rewarding pursuit that proves the simplest things can often be the most beautiful.